

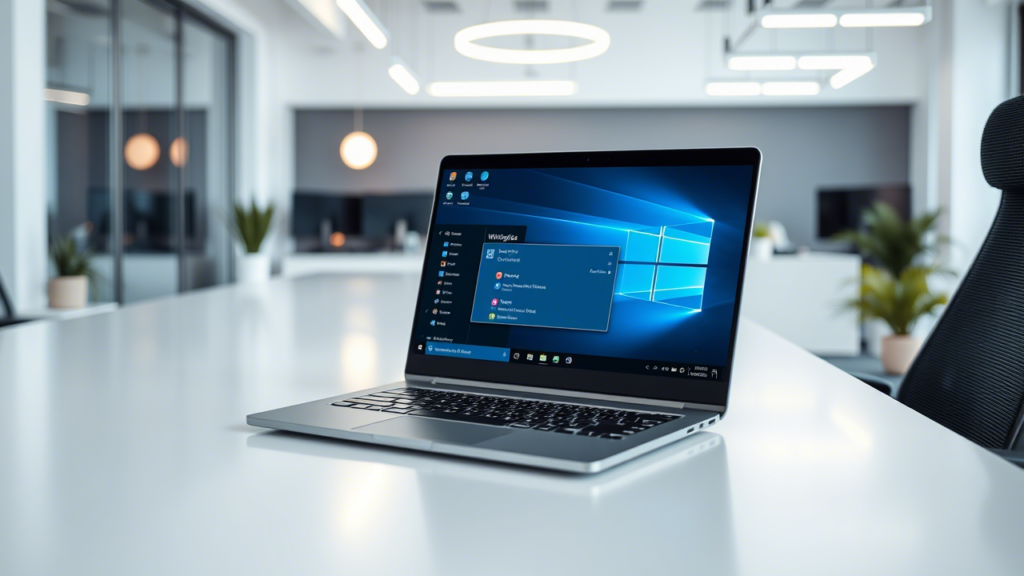
Taking a screenshot is one of the most essential skills every Windows user should know. Whether you want to save important information, capture an error message for troubleshooting, or share something interesting on your screen, learning how to take a screenshot can be incredibly useful. Windows offers multiple built-in tools and shortcuts to capture your screen quickly and efficiently. This guide will explore how to take a screenshot on Windows using different methods and explain how to save and manage your screenshots effectively.
Table of Biography for “How to Take a Screenshot on Windows”
| Attribute | Details |
|---|---|
| Keyword | How to Take a Screenshot on Windows |
| Search Intent | Informational – Users looking for ways to capture screenshots on Windows. |
| Difficulty Level | Easy to Medium – Simple steps for beginners and additional tools for advanced users. |
| Methods Covered | Print Screen, Snipping Tool, Windows + Shift + S, Xbox Game Bar, Third-Party Tools. |
| Primary Audience | Windows users (students, professionals, gamers, casual users). |
| Benefits | Quick screen captures, easy sharing, troubleshooting, and documentation. |
| Tools Required | Built-in Windows tools or third-party apps like Lightshot and Snagit. |
| Image Formats | PNG, JPEG, BMP (recommended for saving screenshots). |
| Related Queries | Best way to screenshot on Windows, shortcut for Windows screenshots, Windows screen capture methods. |
| Estimated Reading Time | 5-7 minutes |
Why Take a Screenshot on Windows?
Screenshots are a great way to capture and share information in an instant. Whether you’re a student, a professional, or a casual user, screenshots help with:
- Saving online receipts or confirmation pages
- Reporting software bugs and technical issues
- Sharing high scores in games
- Creating tutorials and guides
- Keeping a record of meaningful conversations or messages
Now, let’s dive into how to take a screenshot of Windows using various built-in features.
1. Using the Print Screen Button (PrtScn)
One of the quickest ways to capture your screen on Windows is by using the Print Screen (PrtScn) button on your keyboard. This method is simple and does not require any additional software.
Capturing the Entire Screen
- Press the Print Screen (PrtScn) key.
- The screenshot is copied to your clipboard.
- Open an image editor like Microsoft Paint, Photoshop, or Word and paste it using Ctrl + V.
- Save the image to your desired location.
Capturing the Active Window Only
- Press Alt + Print Screen simultaneously.
- This captures only the currently active window instead of the entire screen.
- Paste the image into an editor and save it.
Capturing and Automatically Saving the Screenshot
- Press Windows Key + Print Screen (Win + PrtScn).
- The screen will briefly dim, indicating a screenshot has been taken.
- The image is automatically saved in Pictures > Screenshots.
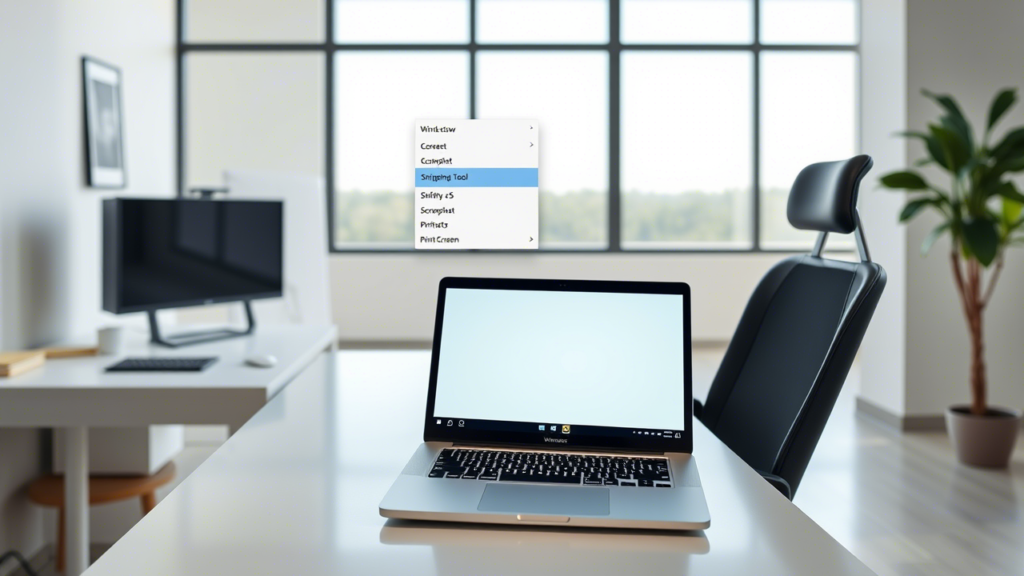
2. Using the Snipping Tool
The Snipping Tool is a built-in Windows application allowing you to take custom screenshots easily. It provides different capture modes and fundamental editing features.
How to Use the Snipping Tool
- Open the Start menu, type Snipping Tool, and click to open it.
- Click New to start capturing a screenshot.
- Choose from the available snip types:
- Free-form Snip: Draw a custom shape around the area you want to capture.
- Rectangular Snip: Select a rectangular portion of the screen.
- Window Snip: Capture an entire window.
- Full-screen Snip: Take a screenshot of the whole screen.
- Once captured, you can annotate and save the screenshot.
3. Using Windows Key + Shift + S (Snip & Sketch)
The Windows Key + Shift + S shortcut is one of the most efficient ways to take a screenshot. It opens the modern Snip & Sketch tool, replacing the Snipping Tool in newer Windows versions.
How to Use Snip & Sketch
- Press Windows Key + Shift + S.
- The screen will dim, and a small toolbar will appear at the top.
- Select the snip mode:
- Rectangular Snip
- Free-form Snip
- Window Snip
- Full-screen Snip
- The screenshot is automatically copied to your clipboard.
- Paste it into an image editor or save it via the Snip & Sketch app.
4. Using the Xbox Game Bar (For Gamers)
If you’re a gamer, Windows has a built-in Xbox Game Bar to capture screenshots and record gameplay.
How to Take Screenshots with Xbox Game Bar
- Press Windows Key + G to open the Game Bar.
- Click on the Camera Icon or press Windows Key + Alt + PrtScn to capture a screenshot.
- Screenshots are saved automatically in Videos > Captures.
5. Using Third-Party Screenshot Tools
Third-party applications might be the best option if you need more advanced features like annotations, screen recording, or cloud saving. Here are some of the best ones:
- Lightshot: Allows quick editing and direct sharing.
- Greenshot: Ideal for capturing and annotating screenshots.
- Snagit: A professional tool with advanced screenshot and recording features.
Where Are Screenshots Saved?
Depending on the method you use, screenshots are saved in different locations:
- Print Screen (PrtScn) + Paste: Needs to be manually saved from an editor.
- Windows + PrtScn: Automatically saved in Pictures > Screenshots.
- Snipping Tool / Snip & Sketch: Needs to be saved manually after capture.
- Xbox Game Bar: Stored in Videos > Captures.
Tips for Taking Better Screenshots on Windows
- Use High-Resolution Screens: Clearer images improve readability.
- Use Editing Tools: Crop and annotate screenshots for better presentation.
- Use Keyboard Shortcuts: Save time by memorizing shortcut keys.
- Save in PNG Format: PNG files maintain better quality than JPEG.
climax
Now that you know how to take a screenshot on Windows, capturing your screen will be easier. Whether you use Print Screen, Snipping Tool, Windows Key + Shift + S, or Xbox Game Bar, each method has advantages. Choose the one that suits your needs, and take screenshots like a pro!